We have had a lot of questions recently about how we run usability testing in virtual reality environments so we put together some tips that should help you avoid pitfalls your first time around.
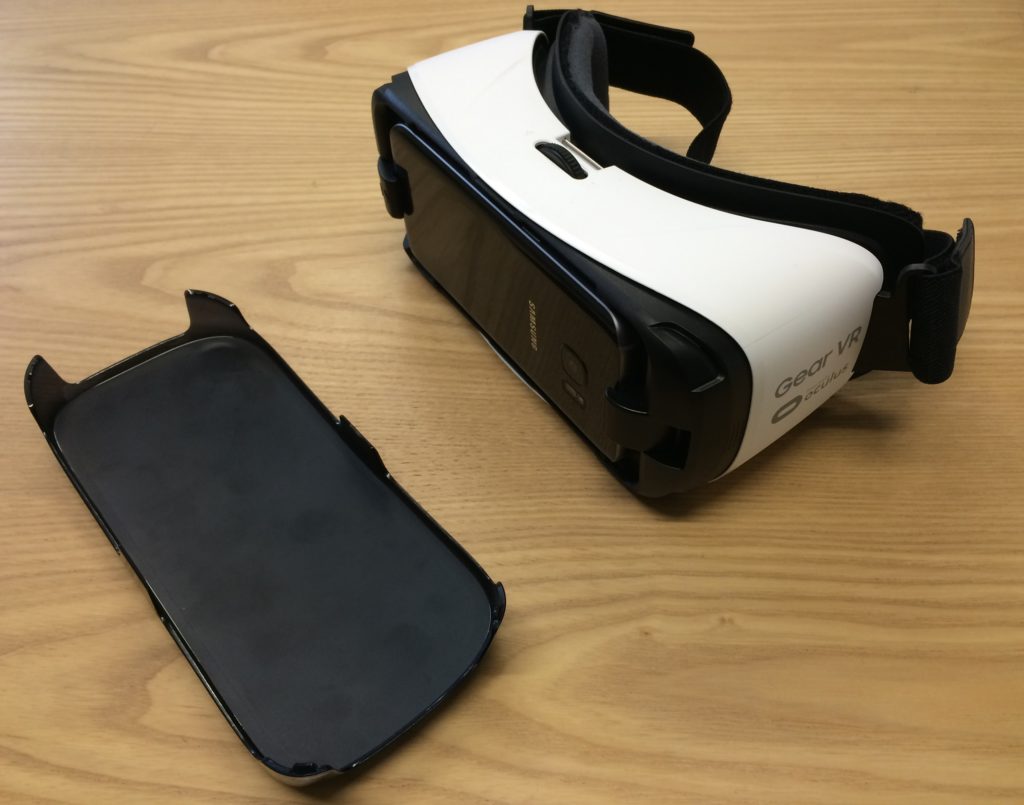
At Bunnyfoot we spend a lot of time looking at new technology. In particular, virtual reality has been a hot topic this year and has become a lot more accessible to the mainstream with devices like Samsung’s Gear VR headset being so affordable.

Who and what we tested
Recently we carried out some VR usability testing for an immersive hotel experience in our London studios. We recruited 6 participants to take part in 45 minute sessions using the Samsung Gear VR headset and Galaxy S7 smartphone.

Our top 7 tips
- Non-Disclosure Agreements and introduction – Cover the usual things but be explicit that if the participant feels any discomfort they can take a break at any time. VR apps can be a strain on the eyes and physically tiring, especially if the app is badly designed; if regular breaks are needed then this might indicate the app is not optimised.
- Nausea and dizziness – Watch out for signs of discomfort. We found that half the participants felt sick or dizzy after approximately 10 minutes. So allow time for impromptu breaks, provide water and suggest that the participants walk around or take a look out of the window to help re-orientate themselves.
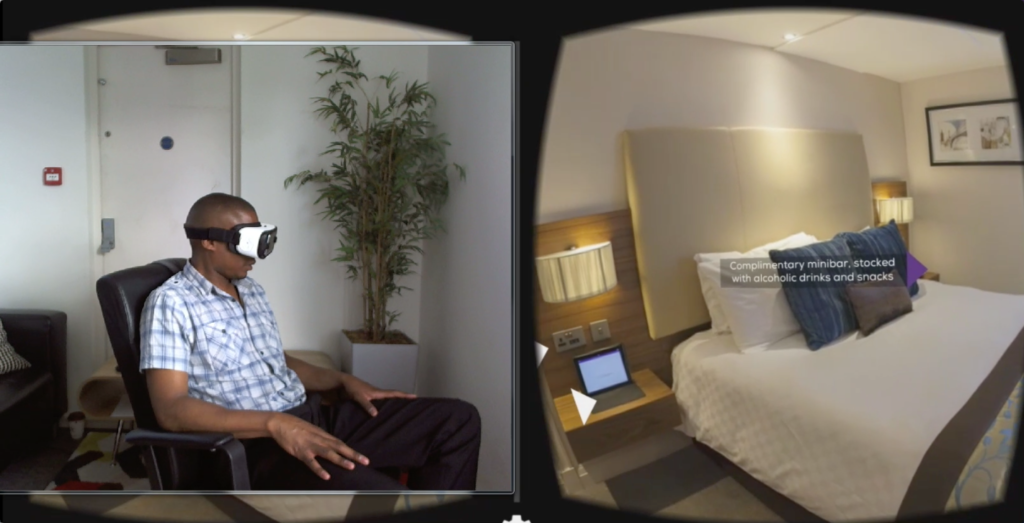
- Surroundings – Sit the participant on a swivel chair. This also allows them to easily explore the 360 environment they are immersed in. Furthermore, ensure there are no obstacles or hazards near the participant. We saw that people were more expressive with their hands when wearing a VR headset and as expected, forget their real world surroundings.
- Hygiene considerations – With many using the headset we found the foam padding around it became rather sweaty! For hygiene reasons order spare pads and change for every participant. Handing a sweaty VR headset to a participant is unprofessional and puts people off taking part.
- Device management – If testing VR devices that work with a smartphone such as our Gear VR, then it’s going to get hot, very hot. It’ll also run out of juice pretty quickly. So between sessions, prepare to take the phone out of the headset to charge and cool down or even have a second device ready.
- Prepping the headset – When loading, the VR app calibrates to the direction the phone faces and then builds the virtual environment around this anchor point, so when you put the headset on there’s a start menu in front of you. We quickly realised that doing this ourselves and then handing the participant the headset meant that they often looked behind them to find the start menu. To mitigate this the moderator stood aside the participant when setting it up and then handing it over, meaning the first thing they would see is the opening screen.
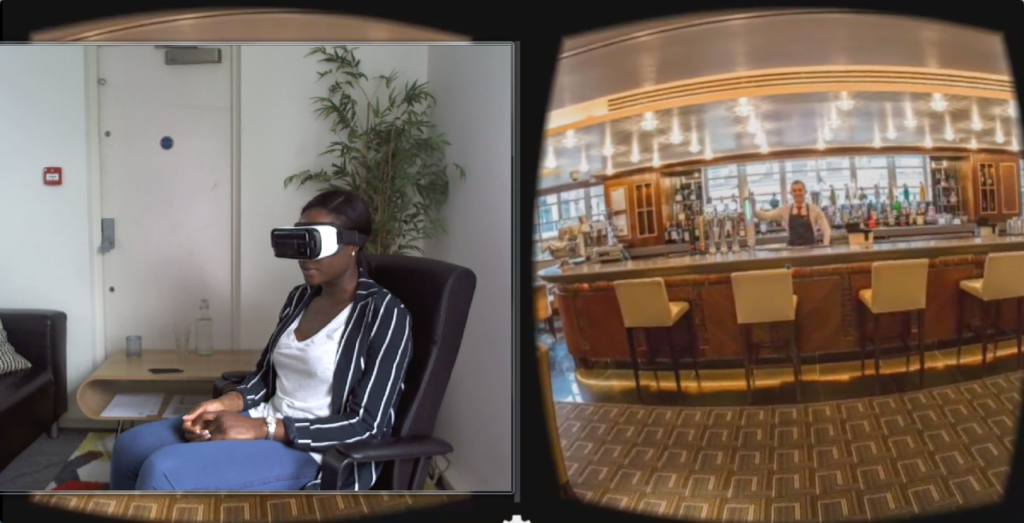
- Observing what’s going on – how do you see what’s going on inside that headset and record it in a client friendly format? Well, we used a combination of various screen casting and recording software; this provided us with a feed to a second monitor in the client viewing room, showing a picture of the participant in situ and view of the virtual environment in sync.

Real user testing is paramount
There are many applications being built however, we are realising that many of these have a poor user experience.
As with any service, we always recommend placing the customer at the centre of the design process. It’s also important to test with real users to ensure the experience works and you get the best results.
Here at Bunnyfoot we’ve been usability testing products and services for over 17 years. If you are interested in talking to us more about creating or testing apps/services for virtual reality, Internet of things or any other technology, we’d love to hear from you!
Find out more:


