Technology and kids go together like peanut butter and jam. It’s not healthy, but they’re inseparable. As anxious adults, we tend to limit our children’s exposure to technology, but this could be worse for their development and our own understanding of technology today. This week, Cathy Carr, our Expert Consultant and Course Instructor takes a look at how to create a model environments to observe technology usage by our future generation.
Set Up
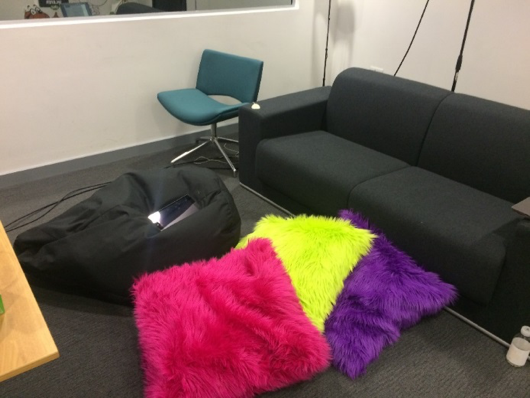
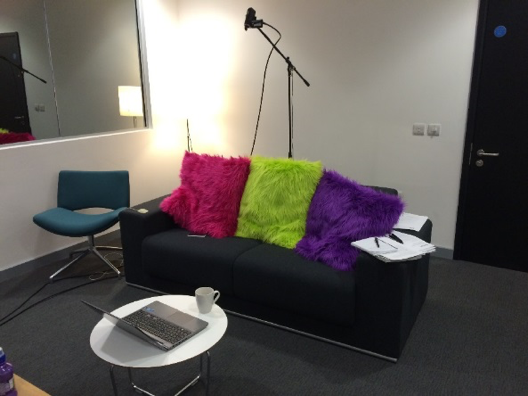
Adapt the lab to feel more welcoming and less intimidating
A usability testing lab can feel quite clinical; try to make it more child-friendly with the introduction of colourful pillows, posters etc.
We wouldn’t recommend bringing toys into the lab as they could serve as a distraction.
As with any usability testing, it is most effective when the participant is comfortable with their surroundings; only then will they be ready to discuss their thoughts, experiences and feelings.
In some cases it may be beneficial to allow the child to determine where they want to sit, to help them feel more like home, e.g. if they want to sit on the floor, or on their parents lap, then let them and adjust the technology.
Sometimes you may need to sacrifice the video capture in favour of the insights that you will glean from a more comfortable child.
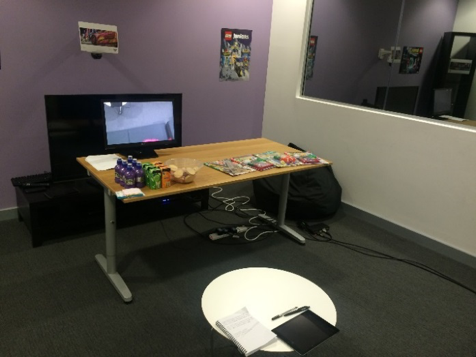
Make Sure You Have Child-Friendly Lab Equipment
If possible, during the recruitment process, find out the type of devices the children are familiar with and try to get your hands on those for the session.
For example:
- which phone does mummy or daddy have?
- Is there a family tablet that the children use?
- Do the children have their own devices?
You may also need to invest in miniature devices as normal devices, e.g. a mouse, may be difficult for the children to use due to their small hands and slightly smaller range in motion.
It may also be worth investing in smaller sized furniture which would be more comfortable for the children.
Recruitment
RECRUIT MORE children THAN YOU NEED
It would be unrealistic to expect a child and their parent/guardian to be a ‘sit and wait’ reserve participant, which we tend to use when conducting user testing sessions with adults.
We would therefore recommend that you recruit an extra child for an additional session at the end of the day to cover any no-shows/cancellations.
Give yourself extra time
Ensure to give yourself extra time during the sessions, e.g. for a 30 minute usability session we would recommend allowing yourself 45 minutes – 1 hour for each session.
This is due to the fact that children require a more gentle, slower introduction to allow them to get familiar with their surroundings, have a little play and for you to build up a rapport with them.
Give yourself plenty of time between testing sessions (we would recommend at least 15–20 mins) and don’t over-schedule the day. You will find yourself more tired than usual after testing with children.
During the session
Don’t hide the tech, explain it and try to make it fun
Children are more aware than we give them credit for. Don’t try and hide the technology you’re using to capture the session; instead try to explain it and why you need it, e.g.
- “There is a big magic mirror and my friends (client) are behind it. They’re going to watch what we do today and they’ll be talking to each other about how to fix things without disturbing you. We’ll go and say ‘Hi’ to them later on.”
- “I also have a camera up above your head, if you wiggle your toes you will see it on that screen (in camera output screen), so I can capture what we do today and I don’t have to remember everything you say” etc.
Ensure to place the microphone is close to wherever the child decides to sit in order to capture their soft voices.
Warm up task – assess child competence with mouse
A potential warm-up task with the computer at the beginning of the session would be to place your finger somewhere on the computer screen and ask the child to try and ‘catch’ your finger with the mouse curser.
This game is useful in multiple ways:
- It enables you to easily break the ice with the child with a fun and relatively easy task for them to complete, which will help to build their confidence.
- It encourages the child to take control of the mouse.
- This also enables you to see the child’s competency of moving/controlling the mouse over different areas of the screen.
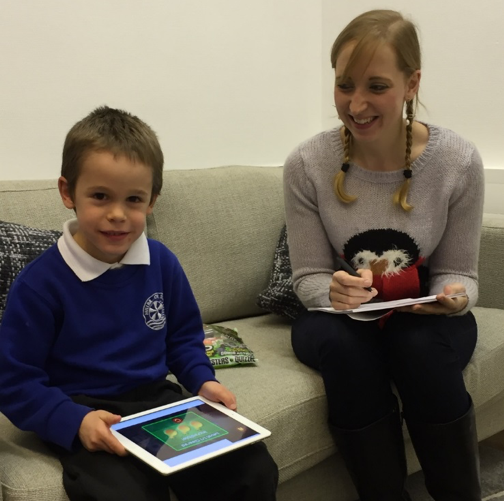
Create rapport, avoid the ‘School teacher effect’
The ‘school teacher effect’ occurs when the child feels as though they need to give you the answers they think you (an adult/authority figure) wants to hear, rather than what they really think.
The more you can connect with the child and be perceived less as an authority figure and more like a friend, the more likely they are to open up to you.
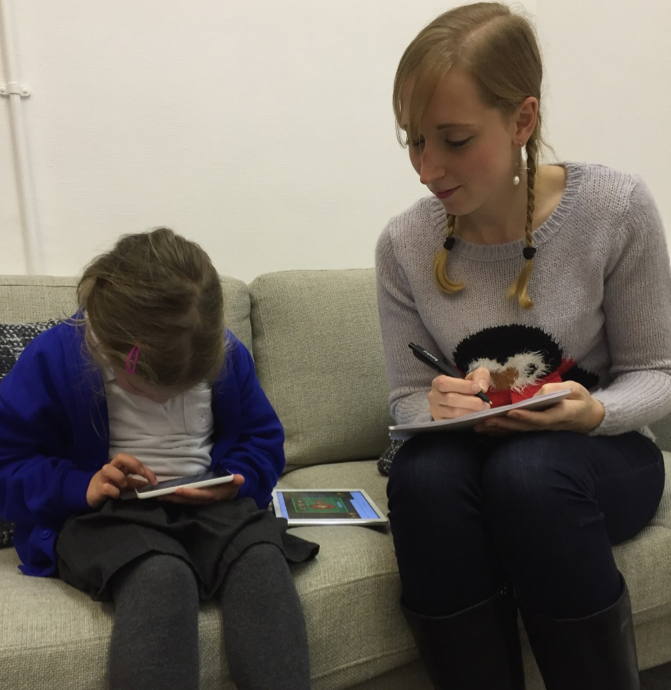
This could come down to the type of clothes you wear.
Informal clothes work best, potentially an item of clothing that has a character on it (resembling an item of clothing that a child might wear). You can even turn it into a talking point, e.g. if they recognise the character.
Your hairstyle, pigtails for example, to try and make yourself appear younger; mimicking a hairstyle that a child might have.
Or even to the finer detail of wearing nail varnish, having pen on your hands, wearing stickers anything that they can identify with, that helps you to be accepted as ‘one of them’.
Useful pre-test questions that most, if not all, children can relate to could be around the following:
- Favourite subject at playgroup/school
- Birthday
- Sports
- Best friend (can be useful in the post-session questions too)
Boomerang
If you do experience difficulty avoiding the ‘school teacher effect’ and find the child asking you for help, encouragement or reassurance during the session, remember the ‘Boomerang’ technique – namely turn the child’s question or comment back around e.g. ‘That’s a great question what do you think?’, ‘What do you think you need to do to start the game?’
Also care needs to be taken in the way in which you phrase questions and tasks that you ask the child to do. Don’t ask them if they ‘want to’ do something as this gives them the option to say ‘no’. Instead use phrases such as ‘Now we are going to have a look at this..’, ‘Lets do this next ..’, ‘Now I need you to do this ..’ etc.
Encouraging comments to use if the child starts to lose interest in the testing session could be:
- “We need to keep trying for just 2 more minutes and then we can move onto something else.”
- “We are almost finished and then you can have your magazine, I would just like you to show me a few more things before you go.”
Be a good mimic
Generally, we tend to like people who are similar to ourselves, therefore mimicking the child’s body language can help with rapport building.
- You can also use your body language to further reinforce that the child is in charge and that you are the submissive rather than an authority figure (fig leaf pose).
The same applies for language used by the children, e.g. If they understand the yellow bomb icons to be ‘lemons’ then refer to them as ‘lemons’ for the rest of the session with that child.
Controlling the parents/guardians
Research suggests that gaining approval from the person that the child trusts (i.e. their parent/guardian) can help gain acceptance and participation from the child themselves (i.e. ‘if Mummy says its ok, then it’s ok with me’).
It’s important that the parent/guardian understands their role within the session; when it’s ok for them to intervene; and when you would rather they didn’t.
It can be very difficult for some parents/guardians to take a back seat and potentially watch their child struggle, however you need to clearly explain at the very start the way in which the session will be run, what’s expected of them and what is expected of their child.
Try to explain to them that it’s ok if their child has difficulty with something, or if they are unable to complete a task asked of them and that this is the reason they’ve been asked to attend the session.
Ensure you have at least one spare seat for the parent/guardian, ideally out of the child’s line of sight.
Be prepared to get more than you bargained for
Be prepared for siblings to come along to the session too. Make sure there is another room for them to wait in (if their age permits) for the duration of the session.
It may be really useful to use siblings as potential back-up participants if you are testing multiple age brackets as you may be able to use both children, however you need to ensure that they can wait out of earshot of testing.
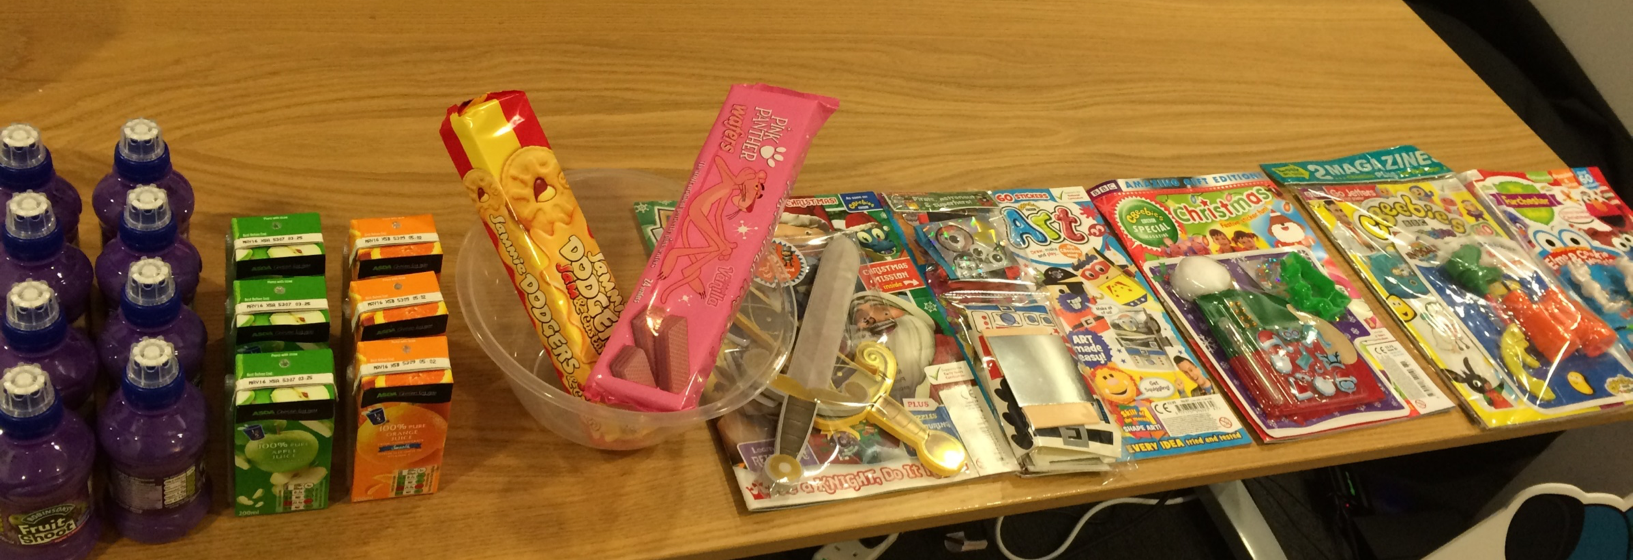
Stock drawing paper, markers, puzzle books or magazines to help keep them entertained while they wait for their turn or for their sibling.
Take a break
Young children’s attention spans are limited, therefore we would recommend introducing breaks if the session time is likely to be more than 20–30 mins.
Also consider alternating the order of the tasks that you ask the children to carry out, as they may become fatigued towards the end of the session.
Use visual scales, instead of numbers or words
Depending on the age of the children you are testing with, they may experience difficulty articulating how they feel, so visual scales are useful to help children to express their feelings.
Providing the children with a selection of responses to your question can also be a useful technique, especially at the start of the session. It can be easier for children to recognise and relate to response options than it is to provide an answer in their own words.
For example:
- depending on how comfortable the child is you may get a response to a question such as ‘What did you think of the game?’ If not then you could ask them ‘Did you think the game was too easy, just right or too hard for you to play?’
- You can then easily expand on why the child selected this response option with a simple ‘Why do you say that?’ response.
Post session questions
As already mentioned, young children can experience difficulty articulating their thoughts. A useful technique to get around this during the post-session questions is to ask the child to explain how they would describe what they’ve done in the session with their best friend when they next see them.
- E.g. “ You told me earlier that Tom is your best friend. If you went back to playgroup/school etc tomorrow and Tom asks you ‘What did you do last night?’ What would you say?”
You can then continue the conversation as ‘Tom’ in order to gain a summary of the child’s experience during the session.
After the session
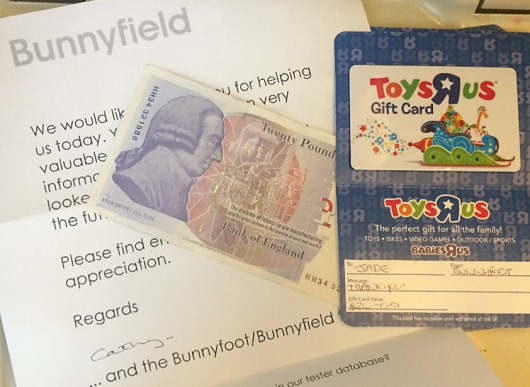
Incentives
Provide an incentive to cover the time of the child but also for the parent/guardian as they have had to take time out of their day to bring their child along to the session and to wait with them.
Consider cash for the parent and a gift card for the child for a well-known store. Cash incentives and the client’s merchandise are not permitted for children aged under 16.
A little extra something
Alongside the general incentive, consider giving the children an extra little something for them to take home, e.g. a magazine or a sticker.
It can be particularly useful to make them aware of this incentive at the very start of the session (as a bribe) to persuade them to take part in/continue with the session.

Snot, spit and tears …
It’s inevitable when testing with children that your devices/mouse will get covered in … well anything.
Be sure to have hand sanitiser and screen wipes at the ready, to use after each session.
We also gave our children biscuits and drinks as snacks to have during our break in the session and sure enough one of the children ended up with Ribena all over her white school shirt and another child left the lab covered in crumbs.
Want to learn more?

Related Posts